It’s important to take a breather from all the stress. A DIY spa day is a quick and easy treat you can give yourself at home, and one your mind and body will thank you for.
RELATED: 12 Self Care Tips [INFOGRAPHIC]
How to Enjoy a DIY Spa Day at Home
Step 1: Set the Mood
Before anything else, set the tone for relaxation by putting on a playlist of chill-out sounds or spa music and lowering the lights in your bathroom. You can even light candles infused with essential oils like lavender, to create a relaxing ambience.
You can also mimic your favorite spa by diffusing eucalyptus essential oil, allowing your mind to quiet down and your body to slow down.
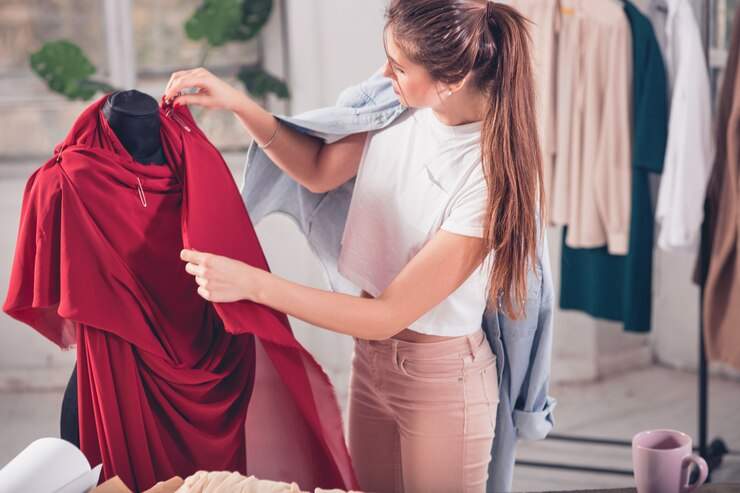
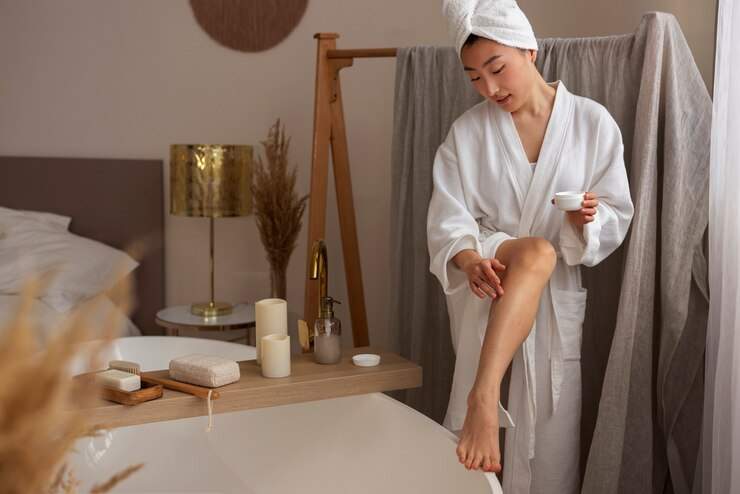
Of course, you need to dress as comfortably as possible. Slip on a robe, put on your slippers, and get your fluffiest towels ready for the next steps. Wearing a robe really amps up the luxurious feel, even if you’re just at home.
Step 2: Give Your Hair a Steam Treatment
Salon hair treatments often apply steam to help the products soak in better and work their magic. Steaming balances the moisture content in hair, repairing damaged strands, promoting growth, preventing dandruff, and stopping split ends.
Start your DIY spa day with clean hair, using clarifying shampoo or homemade clarifying treatment to get rid of buildup from products or chemical treatments. Then, apply treatment, like conditioner, oil, or protein capsules, throughout the hair, combing through your stands to ensure even coverage.
Then, put on a tight-fitting plastic shower cap, making sure your hair is completely contained. You may also use plastic wrap over the top of a loose-fitting cap to keep the hair sealed tightly.
Immerse a towel or turban in hot water, thoroughly wringing it out until damp. Make sure to wear plastic gloves to protect your hands from the heat.
Wrap the towel or turban around your head, then cover with another plastic cap to lock in the steam and prevent it from escaping. Wait 20 to 30 minutes, wetting the towel from time to time, as necessary, to allow the steam’s moisture to penetrate the hair and scalp, and activate the treatment.
When time is up, unwrap the hair and let cool to keep your treatment sealed in. Once the hair has cooled down, rinse thoroughly with cold water.
Step 3: Apply a Face Mask
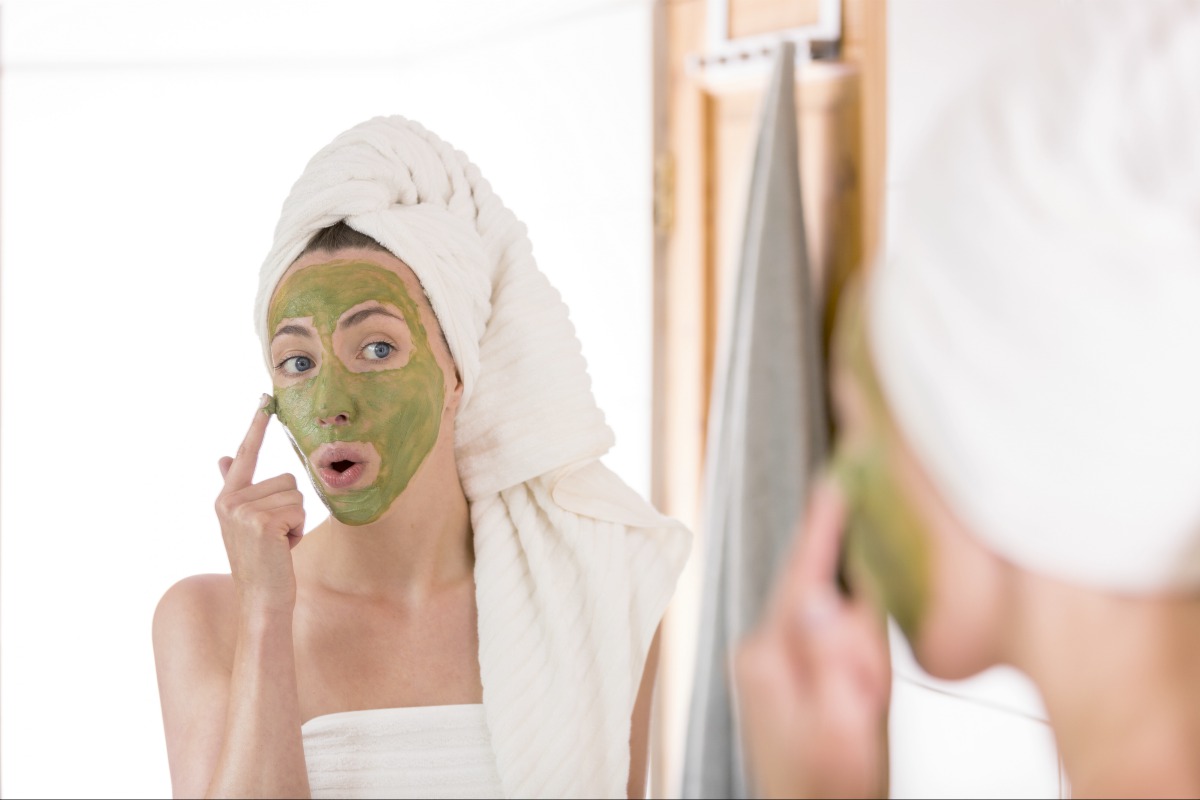
Before you start, first do a patch test at least 24 hours before to ensure you won’t have any allergic reactions or irritations to your chosen skin products.
Better yet, try to choose natural ingredients or organic products to decrease chances of adverse reactions. Some great skin-boosting ingredients include aloe, oatmeal, citrus, honey, and goat’s milk, all with either natural anti-inflammatory or anti-bacterial properties.
Before applying your facial treatment, put on a headband to avoid product getting to your hair. Apply the product all over your face and neck, allowing to dry for 15 to 20 minutes. Rinse with warm water, then pat your skin dry with a clean towel.
Step 4: Exfoliate from Head to Toe
Body scrubbing can help control acne and smooth out rough skin patches. It also rejuvenates the skin, leaving you feeling refreshed and relaxed.

While your hair and facial treatments are on, you can take a warm shower or soak in a hot bath to open up your pores and allow the body scrub to remove dead skin and dirt. Wait five minutes before you start exfoliating to give your pores enough time to open.
Squeeze some body scrub onto your hands, and in a circular motion, rub it onto your skin. Start at the top of your feet, working your way up to the torso and arms.
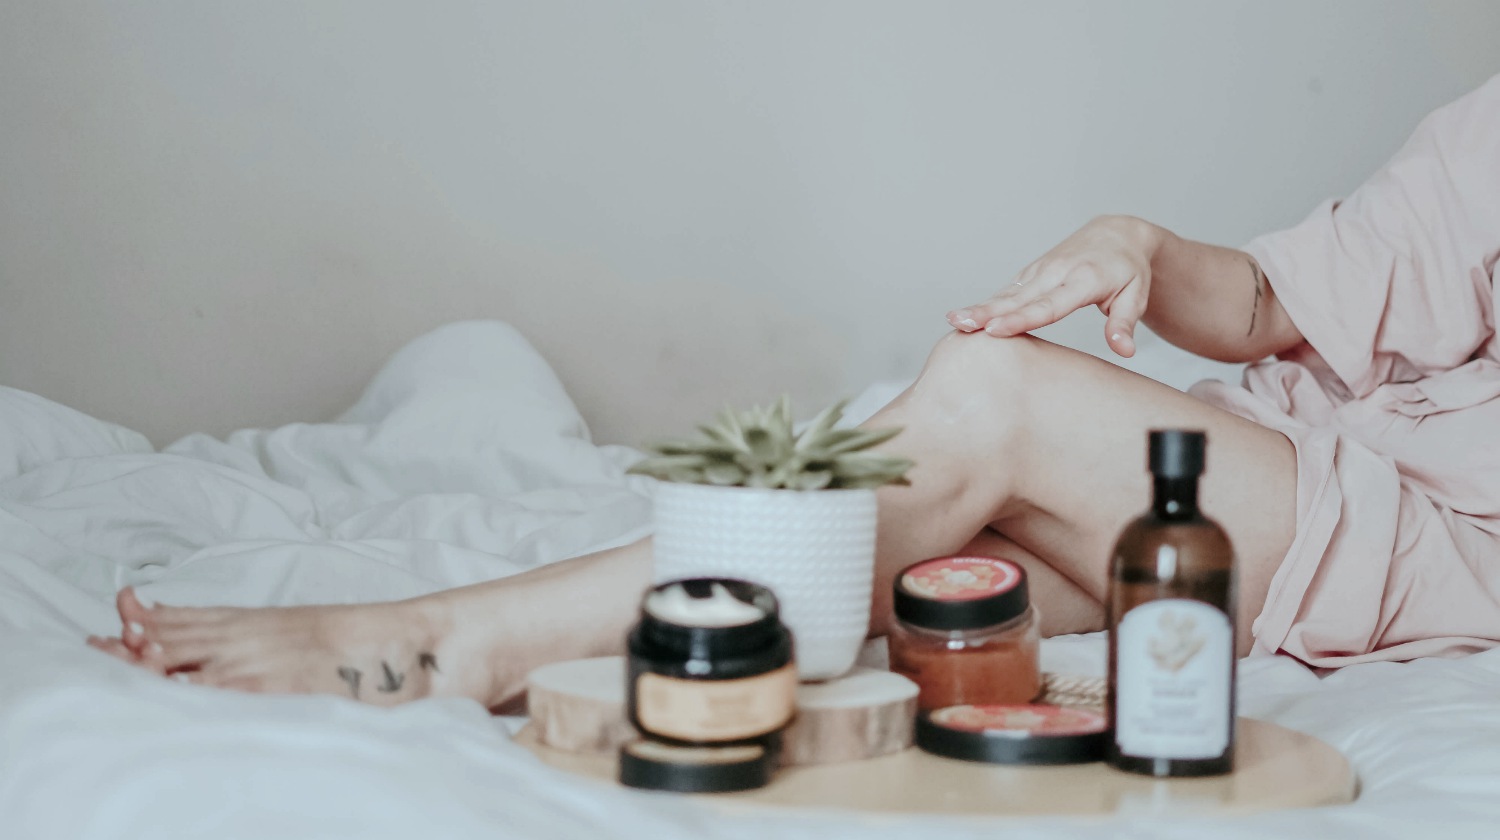
After the body has been thoroughly scrubbed, rinse and pat your body dry. Moisturize the entire body using a rich moisturizer or body oil.
Step 5: Give Your Hands a Spa Treatment
Hands deserve just as much TLC just as the face. Start pampering your hands by first assembling your materials: basin with hot water, nail clippers, nail polish remover, buffer, nail file, moisturizer and some nail polish.
Fully remove all nail polish with acetone-free polish remover to start fresh. Once completely polish-free, trim nails with a clipper and shape your nails using the file.
Use a buffing board to gently rub the nails and smooth out any uneven bumps. Buffing makes it easier for you to paint your nails later on.
Fill your basin with warm water, then add some of your favorite bath salts, oils, or fragrance. Soak your hands for about five minutes, then pat dry using a warm, fluffy towel.
Scrub your hands with a mix of two parts oil and one part sugar, making sure you also scrub your cuticles. Let your hands absorb the oil for about a minute, then rinse and moisturize.
If desired, give your hands a manicure by gently pushing back your cuticles with a cuticle stick. Paint your nails using your favorite color and top coat — but save this for last, after you’ve rinsed everything off.
Step 6: Give Your Feet Some TLC
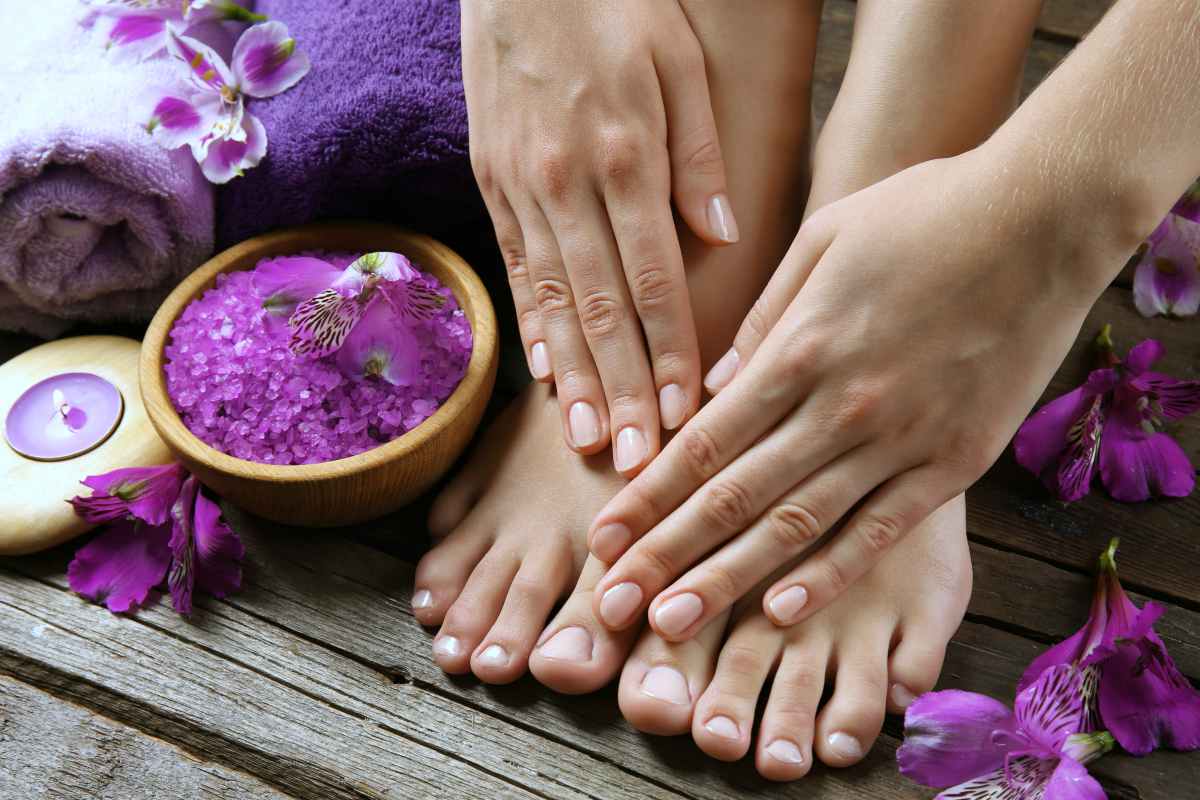

A DIY spa day is not complete without some homemade spa treatments for the feet. To start, choose a plastic tub big enough for both your feet and tall enough to reach halfway up your calves.
Fill it with warm water, then add your desired herbs, salts, or oils. For a more luxurious experience, consider adding some marbles or smooth stones into the tub.
Squirt some bubble bath solution to the tub to soften your feet. Add 10 drops of essential oil, like lavender, peppermint, or lemongrass, for fragrance and aromatherapy.
Soak your feet in the water for about 10 to 15 minutes. To soften your feet even more, you may add a cup of powdered milk and a tablespoon of almond oil.
After soaking, exfoliate your feet with a scrub or manicure brush. For a fancier treatment, use a foot scrub, focusing on your heels where the skin is the most calloused.
Follow everything up with a foot massage using your hands or by rolling your feet back and forth against the added marbles in the tub. Pat your feet dry then apply moisturizer, body lotion, body butter, or jojoba oil.
Give your feet a pedicure, if desired. Clean under your toenails with a manicure brush, trim with clippers, and apply nail polish remover, if necessary.
Apply your base coat, followed by your desired nail polish, then seal with a top coat. Wait for everything to dry before moving on.
Step 7: Bathe and Relax
Now, it’s time to hit the tub and enjoy a nice, long bath. Remember to keep your bath robes, fresh dry towels, and slippers close at hand, just in case your need to get out of the tub right away. Also be mindful of any lit candles, and be careful about falling asleep in the tub!
Stay in for as long as you please, bringing some tea or even a glass of wine in with you. When you are ready to get out of the tub, take a quick rinse in the shower before toweling off. Make sure you have a nice warm robe to slip into — it’s the best part of completing a DIY spa day!
Any DIY spa day is a good idea, whether spent alone or with friends. With all the stress you encounter on the daily, pampering yourself from time to time is great idea. So the next time you need a spa night at home by yourself, go for it without any excuses. You’ll thank yourself later for the little indulgence.
Do you have a DIY spa day habit? Share your go-to treatments with us in the comments section below.
Up Next: